247pcrepair.net pop-up windows in your browser are the result of the adware in your PC. You could actually see such pop-ups simply as a result of clicking some malicious links, but if you see very many of them popping up periodically or regularly, this definitely means that they are powered by adware, which is now a part of your browser. In this guide we will help you to fix this problem with it.
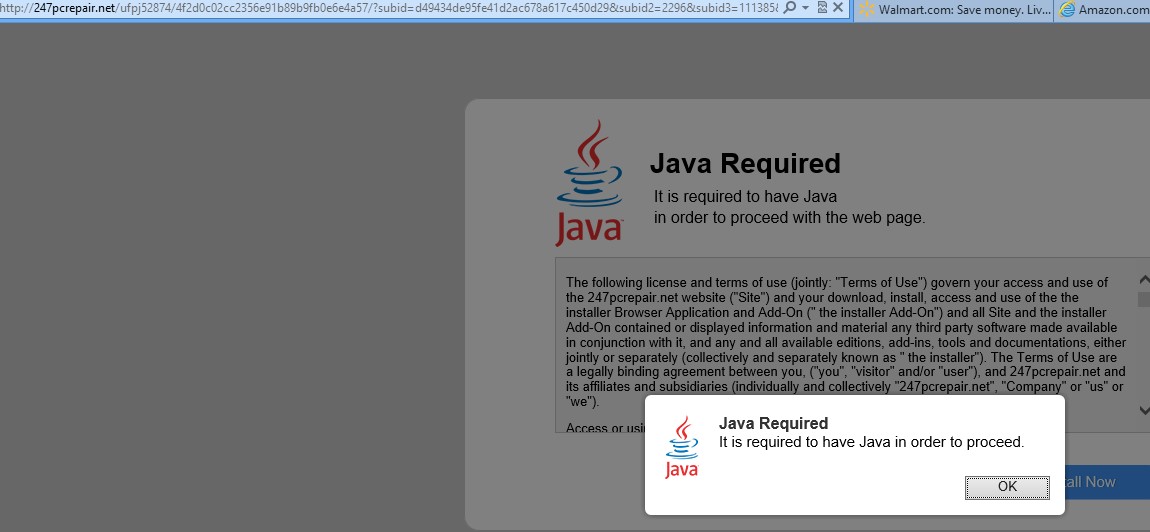
The pop-up from 247pcrepair.net site says:
Java Required
It is required to have Java in order to proceed with the web page.
You must understand that all the information you see through such 247pcrepair.net pop-ups is absolutely fake. In other words, you do not need to update download any Java onto your PC. Even if you do require Java or some other similar software, this should be the message from your Windows operating system, but not from this 247pcrepair.net misleading pop-up.
So, we strongly recommend that you ignore all such 247pcrepair.net pop-ups if you see them in your browser. Doing so may actually result in you installing all sorts of other junkware and truly potentially unwanted programs into your PC. Be careful in the web. Do not install any suspicious programs from strange websites, which are full of intrusive ads and pop-ups. Even if you do decide to install some cost-free program into your PC, make sure you read its End User License Agreement. Doing so will help you to understand what exactly you are going to install into your system in addition to the main software of your choice. Always select the option of a custom installation, instead of the standard one. Please follow the guide below that will help you to get rid of all such 247pcrepair.net pop-ups from your computer.
Anti-malware tool necessary for 247pcrepair.net pop-up windows removal

Similar adware removal video:
247pcrepair.net pop-up detailed removal instructions
Step 1. Uninstalling related adware from the Control Panel of your computer.
Instructions for Windows XP, Vista and 7 operating systems:
- Make sure that all your browsers infected with adware are shut down (closed).
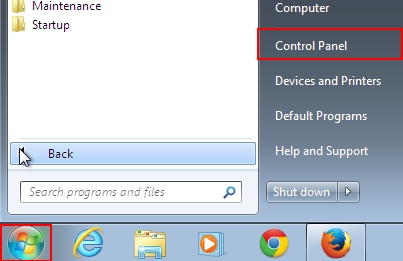
- Click “Start” and go to the “Control Panel“:
- In Windows XP click “Add or remove programs“:
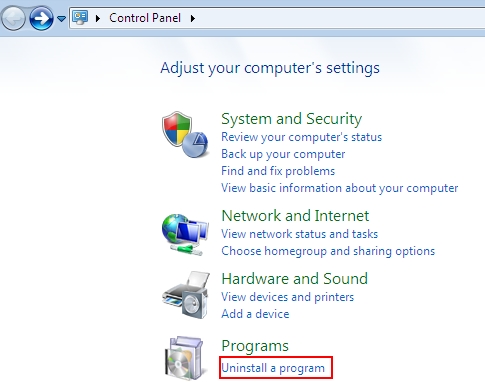
- In Windows Vista and 7 click “Uninstall a program“:
- Uninstall related adware. To do it, in Windows XP click “Remove” button related to it. In Windows Vista and 7 right-click this adware program with the PC mouse and click “Uninstall / Change“.

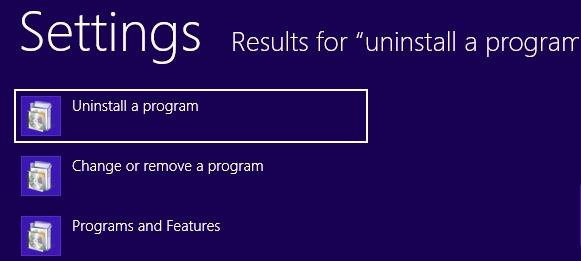
Instructions for Windows 8 operating system:
- Move the PC mouse towards the top right hot corner of Windows 8 screen, click “Search“:
- Type “Uninstall a program“, then click “Settings“:
- In the left menu that has come up select “Uninstall a program“:
- Uninstall related adware program. To do it, in Windows 8 right-click such adware program with the PC mouse and click “Uninstall / Change“.


Step 2. Removing adware from the list of add-ons and extensions of your browser.
In addition to removal of adware from the Control Panel of your PC as explained above, you also need to remove this adware from the add-ons or extensions of your browser. Please follow this guide for managing browser add-ons and extensions for more detailed information. Remove any items related to this particular adware and other unwanted applications installed on your PC.
Step 3. Scanning your computer with reliable and effective security software for removal of all adware remnants.
- Download Plumbytes Anti-Malware through the download button above.
- Install the program and scan your computer with it.
- At the end of scan click “Apply” to remove all infections associated with this adware.
- Important! It is also necessary that you reset your browsers with Plumbytes Anti-Malware after this particular adware removal. Shut down all your available browsers now.
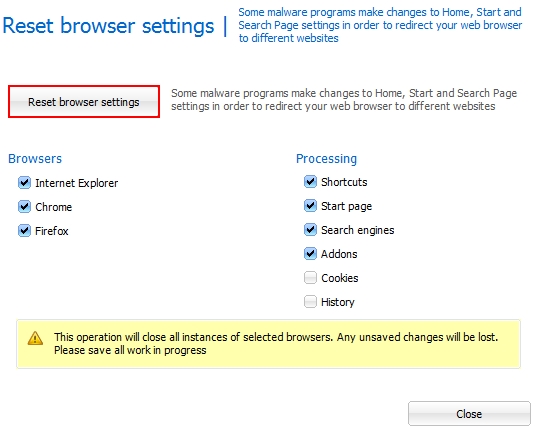
- In Plumbytes Anti-Malware click “Tools” tab and select “Reset browser settings“:
- Select which particular browsers you want to be reset and choose the reset options:
- Click “Reset browser settings” button.
- You will receive the confirmation windows about browser settings reset successfully.
- Reboot your PC now.