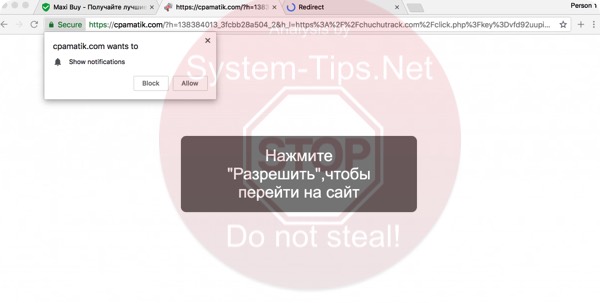
Cpamatik.com pop-up alerts represent problems for Google Chrome and Mozilla Firefox primarily. They’re intended to force you to enable push notifications while you surf the web. You should be very careful not to interact with these multiple pop-ups. In other words, do not click on Allow or even on Block buttons as such pop-ups suggest. Doing so will automatically enable push notifications via your browser. Keep in mind that the main reason why you now keep facing such a multitude of cpamatik.com pop-ups is because your system is now damaged by adware. On the other hand, removing this adware in a manual way is a very time-consuming undertaking and does not often produce the desired impact. We therefore strongly advise that you continue reading this tutorial below that provides you with steps to remove cpamatik.com pop-ups automatically from your browser using proven virus removal software.
Cpamatik.com pop-up removal menu.
Intrusion channels for cpamatik.com pop-ups.
Instructions to remove cpamatik.com pop-ups from Windows computers.
Instructions to remove cpamatik.com pop-ups from Mac computers.
Tips to delete cpamatik.com pop-ups manually.
How does your browser work when cpamatik.com pop-ups are enabled in it?
First of all, it is important to mention that cpamatik.com pop-ups may occur with all popular browsers, including Google Chrome, Opera, Mozilla Firefox, Internet Explorer and Microsoft Edge. Even Safari in Mac OS X is not an exception and can be vulnerable as well. You will definitely notice that your browser and your system in general will be functioning extremely slow as a result of cpamatik.com pop-ups enabled.
Cpamatik.com pop-ups have the intention to redirect your browser to plenty of other unsafe places in the world wide web. As a result, your home page may be hijacked, whereas the entire system may become infected with other potentially unwanted and even harmful programs. As a result, you may end up facing your computer to be permanently freezing and unable to satisfy your requirements.
It is true that cpamatik.com pop-ups represent danger for your entire computer. The problem is that they do not appear by themselves. There is always the reason why these alerts come up, and this is most likely explained by presence of some nasty adware in your system. We strongly advise that you continue reading this guide to find out about ways through which adware enters the systems and methods of its prevention in the future.
Channels through which cpamatik.com pop-ups become enabled in your browser.
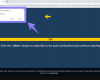
It is a common practice for adware and related pop-up windows to penetrate into browsers using the software installation method called ‘bundling‘. There are certain free programs (both for Windows and Mac systems) which may be downloaded over various freeware download resources absolutely at no cost for you. As a price for downloading this free software, its installer may additionally contain other programs suggested to be installed by default. Hence, the installer of certain free application may also be interconnected with installers of other unwanted utilities, such as adware, browser hijackers, etc. If you ever deal with such cost-free applications, make sure you always select the option of a custom (advanced) installation to prevent any additional software from entering your system. Here is the screenshot which shows you how to decline installation of additional software while installing free applications:
Whenever people fail to be careful as described above, then end up installing plenty of other junk utilities which they do not need at all. In a hurry while installing those free programs, they may blindly click on Next or I agree buttons, without understanding much what they agree with.
Another reason why cpamatik.com pop-ups and associated adware got injected into your system is because of poorly updated databases of your available anti-virus software. You may have some security tool enabled, however, due to its outdated databases this software could miss certain malware intrusion attacks and thus permit cpamatik.com pop-ups to become the part of your browser. If this is so, it’s time for you to reconsider your existing anti-malware and rather give preference to some other program which definitely can protect your system. To fix this particular issue of cpamatik.com pop-ups, please follow this removal tutorial below.
Cpamatik.com pop-up removal instructions.
This slider below shows how to use Trojan Killer Portable for cpamatik.com pop-up detection and removal:
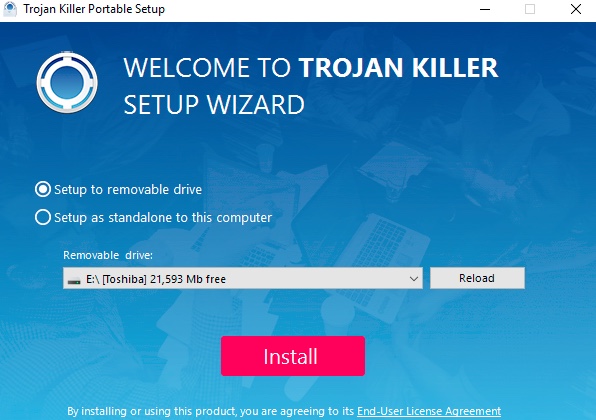
Step 1. Click on "Install" button and proceed with its installation process.
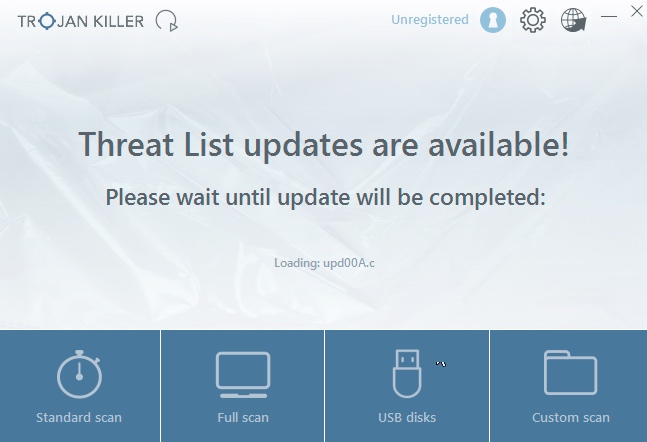
Step 2. Select scan type.
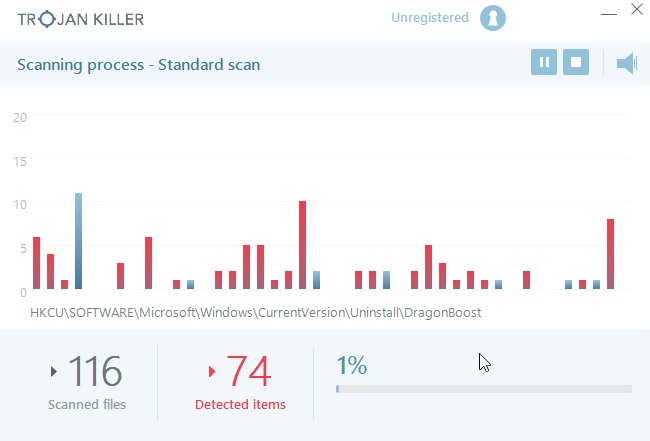
Step 3. Software will begin scanning your system.
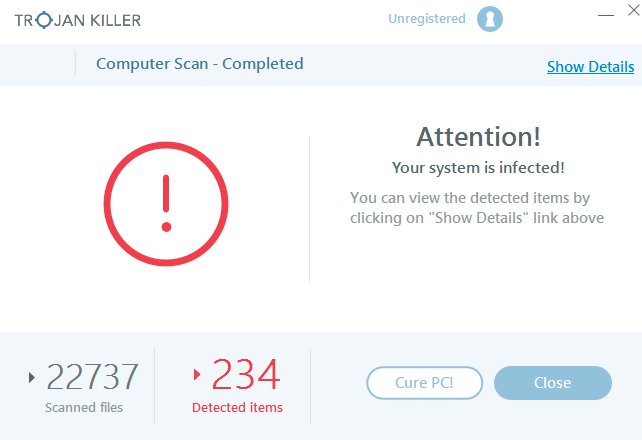
Step 4. Click on "Cure PC".
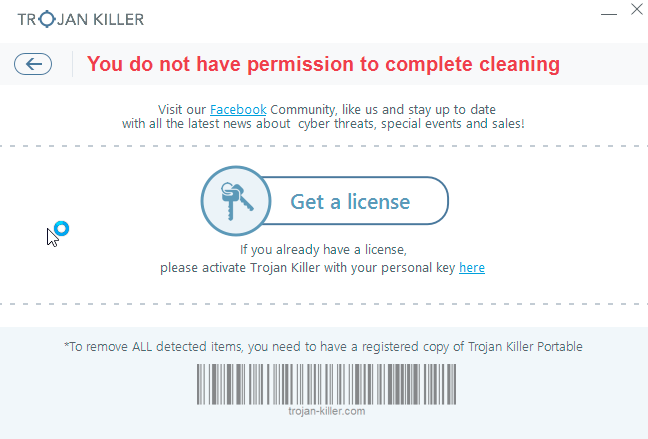
Step 5. Click on "Get a license".
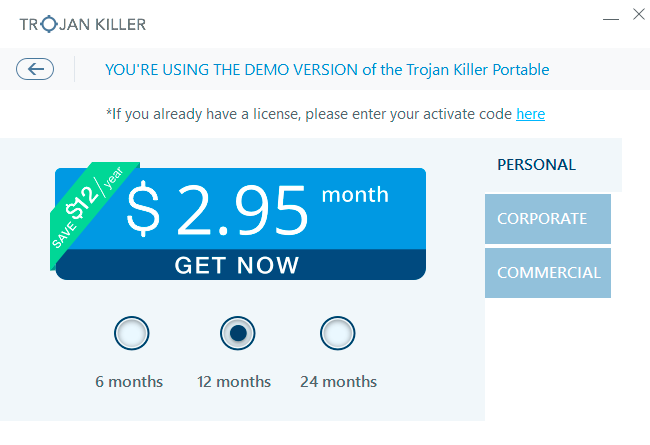
Step 6. Select license term and purchase the program to remove malware.
Step-by-step guidelines.
- Step 1. Download Trojan Killer Portable via the download button below:
- Step 2. Click on “Install” button and proceed with its installation process.
- Step 3. Select scan type.
- Step 4. Software will begin scanning your system.
- Step 5. Click on “Cure PC“.
- Step 6. Click on “Get a license“.
- Step 7. Select license term and purchase the program to remove malware.
Solution to protect your computer from getting contaminated with cpamatik.com and similar threats in the future:
With millions of malicious applications currently in the web people definitely need powerful security solutions for their PCs. You could have avoided all negative side effects related to unwanted intrusion of adware with the help of Trojan Killer Portable, so we strongly advise that you buy Trojan Killer Portable now!
After you eliminate cpamatik.com malware it is mandatory to apply additional manual fixes to clean your browsers from malware traces.
[TABS_R id=7864]
Instructions to clean Mac computers.
- Download Combo Cleaner for your Mac by clicking on the “Download Now” button below.
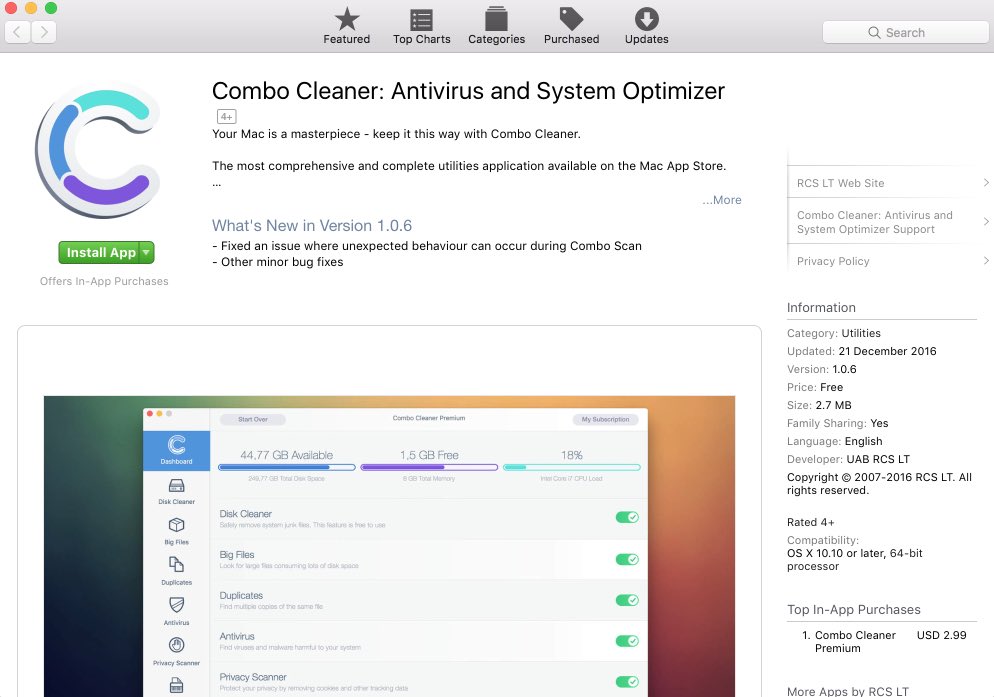
- You will be redirected to the App Store:
- Install the application and start it.
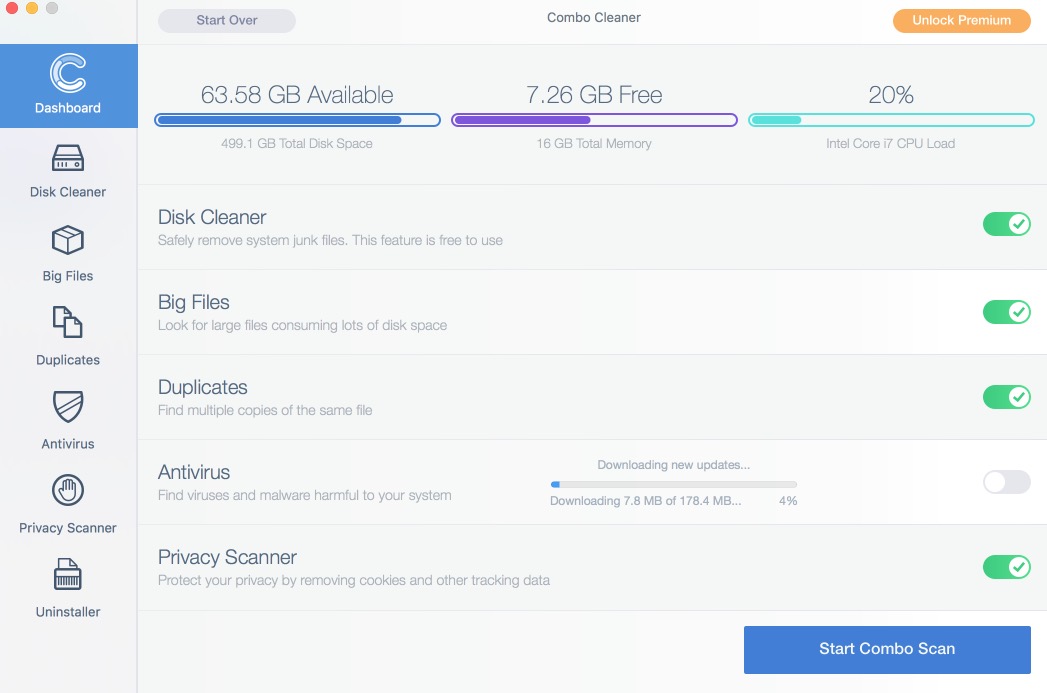
- Wait until Combo Cleaner downloads new updates (mandatory step):
- Once updates are downloaded and installed, click on “Start Combo Scan” button:
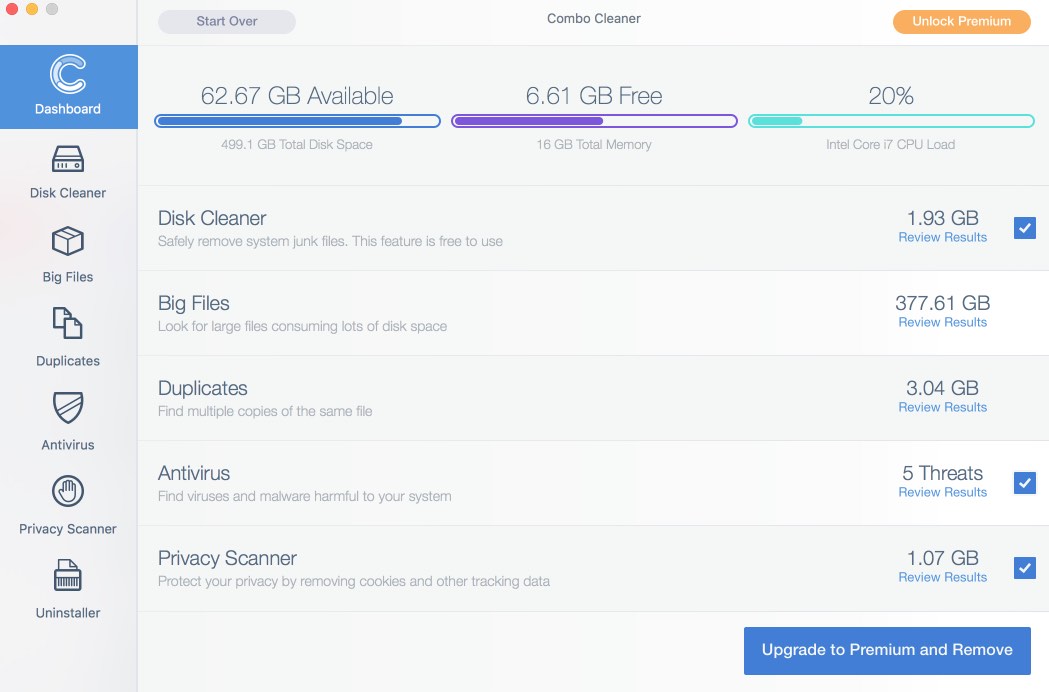
- To enable full functionality of Combo Cleaner and in order to delete detected malware, click on “Upgrade to Premium and Remove” button:

After you eliminate cpamatik.com pop-ups and related adware it is mandatory to apply additional manual fixes to clean your browsers from malware traces.
[TABS_R id=7864]
![Hhyu ransomware [.hhyu file virus]](https://www.system-tips.net/wp-content/uploads/2022/07/hhu-100x80.png)