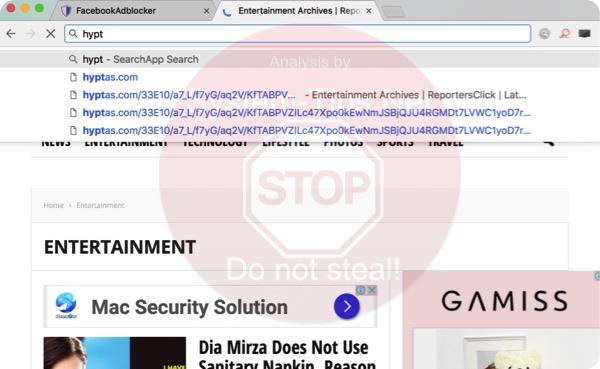
Hyptas.com is a dangerous domain name that is currently involved in causing numerous browser redirection problems. Such issues were noticed by our anti-malware team and we’ve come to analysis that hyptas.com pop-ups occur both in Windows and Mac operating systems. The intention of these pop-ups is to eventually redirect your browser to plenty of unsafe sites in the web. Logically, as a consequence of such redirections your system may become deeply infected with tons of other malicious applications. So, please carefully follow this guide below explaining how to fix your system in a proper manner.
Quick menu to help you navigate through hyptas.com removal guide.
Removal guide for hyptas.com malware.
Additional manual fixes for your browsers after malware attack.
It is absolutely certain that hyptas.com pop-ups are the trace of some stubborn adware that is currently enabled in your computer. It is quite likely that the adware was brought into the computer together with some other free applications that you might have been dealing with lately. When hyptas.com pop-ups are active the computer will be permanently functioning in a very sluggish way. You may notice that there is always high CPU usage and the system just does not function as it should. In many cases the computer might be dramatically freezing and fail to perform its job well.
Hyptas.com pop-ups could also be brought into your computer as a result of failure of your available anti-virus software to perform its direct function of protecting your computer. Unfortunately, there are so many reputable anti-malware programs these days that simply do not work as they should, in spite of the information contained in the advertisements regarding them.
As a remedy to help you to remove hyptas.com pop-ups completely from your computer we strongly advise that you thoroughly scan your computer with a proven anti-malware software called Trojan Killer Portable developed by GridinSoft company. This will make your computer utterly clean and will protect the system from subsequent malware intrusion attempts. If you require any additional help on our part, feel free to contact us for further assistance when you need it.
Hyptas.com removal instructions.
This slider below shows how to use Trojan Killer Portable for hyptas.com detection and removal:
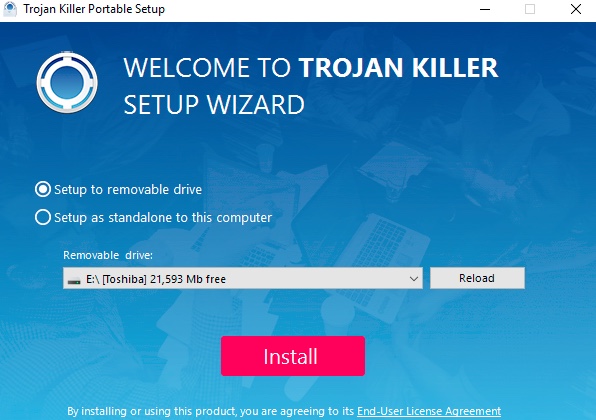
Step 1. Click on "Install" button and proceed with its installation process.
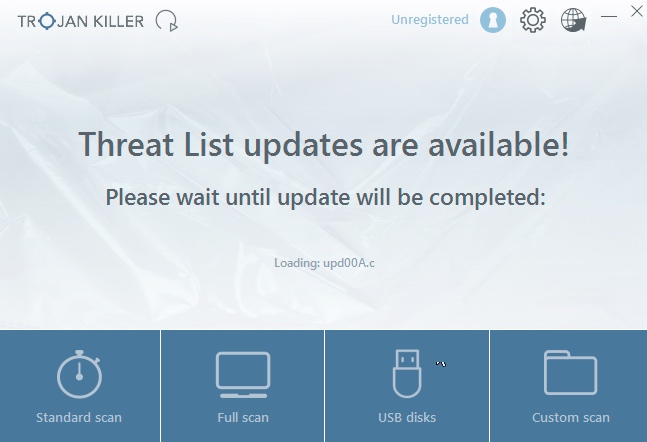
Step 2. Select scan type.
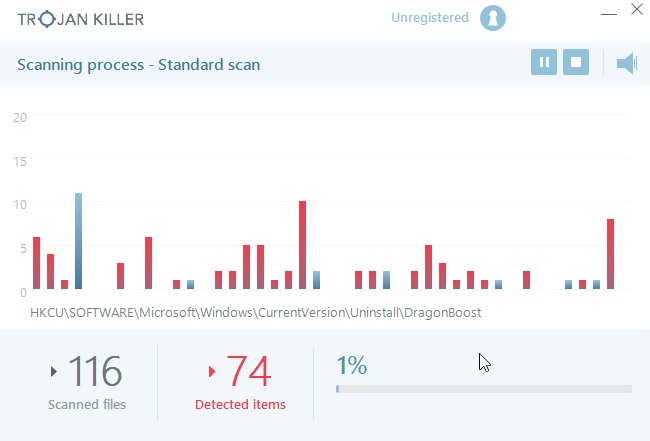
Step 3. Software will begin scanning your system.
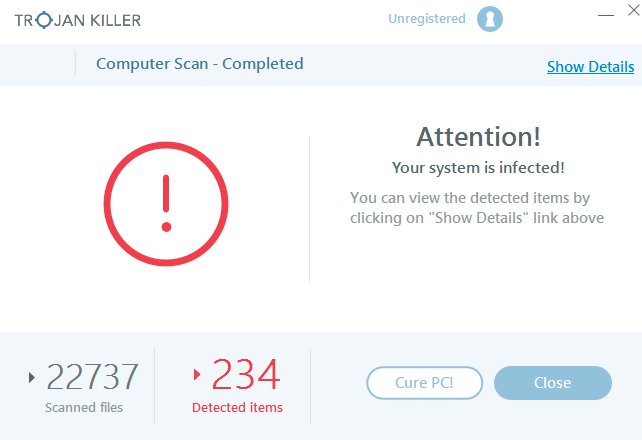
Step 4. Click on "Cure PC".
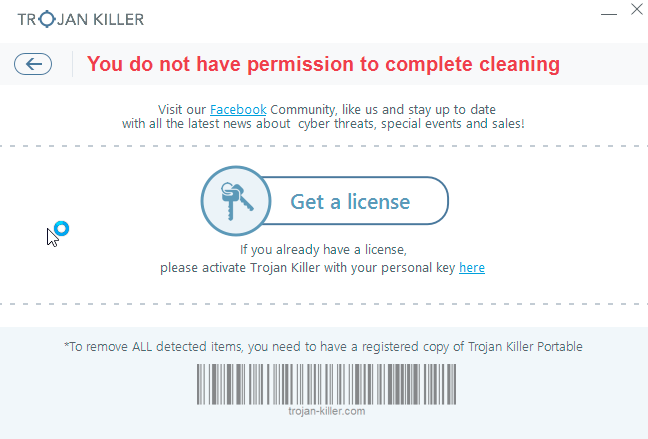
Step 5. Click on "Get a license".
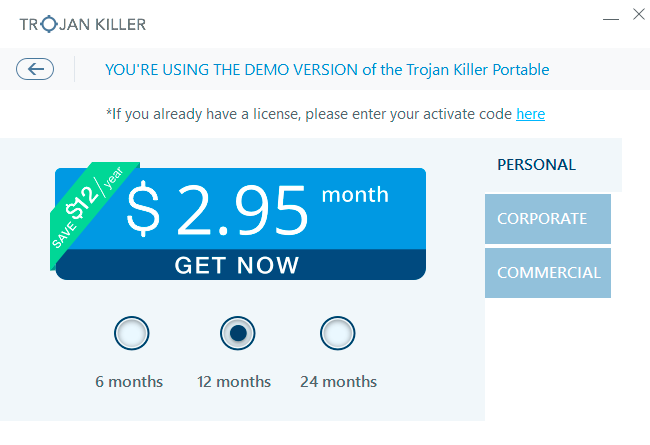
Step 6. Select license term and purchase the program to remove malware.
Step-by-step guidelines.
- Step 1. Download Trojan Killer Portable via the download button below:
- Step 2. Click on “Install” button and proceed with its installation process.
- Step 3. Select scan type.
- Step 4. Software will begin scanning your system.
- Step 5. Click on “Cure PC“.
- Step 6. Click on “Get a license“.
- Step 7. Select license term and purchase the program to remove malware.
Solution to protect your computer from getting contaminated with hyptas.com and similar threats in the future:
With millions of malicious applications currently in the web people definitely need powerful security solutions for their PCs. You could have avoided all negative side effects related to unwanted intrusion of adware with the help of Trojan Killer Portable, so we strongly advise that you buy Trojan Killer Portable now!
After you eliminate hyptas.com malware it is mandatory to apply additional manual fixes to clean your browsers from malware traces.
[TABS_R id=7864]
![Hhyu ransomware [.hhyu file virus]](https://www.system-tips.net/wp-content/uploads/2022/07/hhu-100x80.png)