MyCouponize is a new intrusive application fairly classified as adware. Some traits of it may give us the right to speak about it as a PUP (potentially unwanted program). Very often though it will show a lot of persistent pop-ups, ads and other notifications in your screen. This gives us the ground to assert that it is more likely a new adware. While browsing the web you may see a lot of sudden pop-up ads, notifications and alerts titled as “MyCouponize”, or simply as “Ads by MyCouponize”. Needless to mention, they’re all quite malicious and need to be dealt with at once. This guide is dedicated to correct and complete removal of this useless application from your system.
MyCouponize adware removal menu.
Intrusion channels for MyCouponize.
Instructions for removal of MyCouponize adware.
Instructions to remove MyCouponize from Mac computers.
Tips to delete MyCouponize manually.
How does your browser work when MyCouponize Ads are enabled in it?
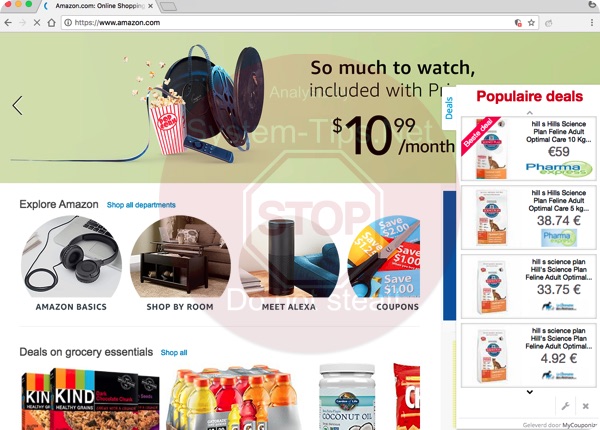
Actually, MyCouponize is capable of displaying its intrusive content in all major Mac browsers, including Google Chrome, Safari and Mozilla Firefox. Users might see its ads by going practically to any websites, not necessarily the commercial ones. However, when going to Walmart or Amazon, or any other commercial websites, this problem of annoying ads and pop-ups by MyCouponize may be even more severe. By the way, we strongly recommend you not to click on any forms of such intrusive advertisement on the part of MyCouponize adware. Very often its ads and pop-ups are quite misleading. They may display a lot of faulty content in your screen, having in mind to make you think your system is in danger. For example, you may be reported about various Mac errors, troubles and crashes supposedly identified in your system. Then these pop-ups may tell you to download and install some application which will supposedly fix your computer. In reality, by installing such program you actually install a lot of other junk programs.
Channels through which MyCouponize gets enabled in your browser.
Fist of all, it is important to mention that MyCouponize adware is actively brought into Macs through being actively bundled by default with the installers of many other free applications. Users need to pay close attention to what exactly they install into their computers by default. In case they see any strange third-party programs suggested for them to become the part of their Macs, it’s surely their job to be duly careful and not to allow their installation by default. They may always switch to the advanced or custom installation mode where they may uncheck all third-party applications from being brought into their computers by default, including this MyCouponize adware.
We recommend you to uninstall MyCouponize adware immediately from your Mac. The best way to do it is to scan your system with Combo Cleaner, the powerful anti-malware application. It will help you to detect all malicious files and folders from your system and to get rid of them automatically (with its full registered version). Finally, you will need to reset your browsers with its help. In case you need more help on our part, please feel free to contact us at any time of your choice.
MyCouponize adware removal instructions.
Instructions to clean Mac computers.
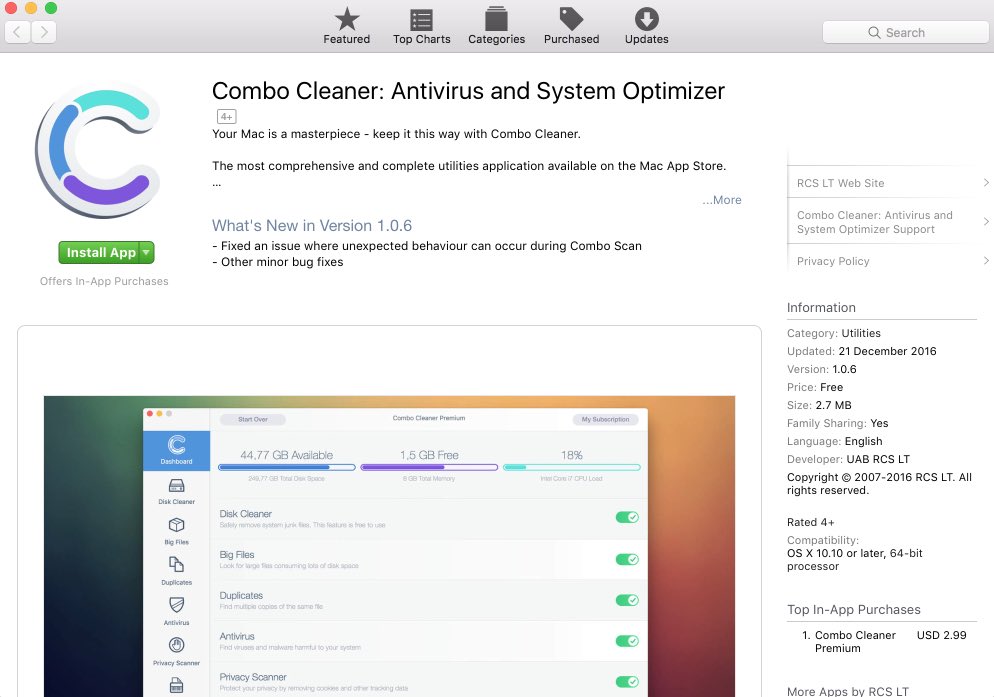
- Download Combo Cleaner for your Mac by clicking on the “Download Now” button below.
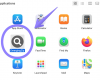
- You will be redirected to the App Store:
- Install the application and start it.
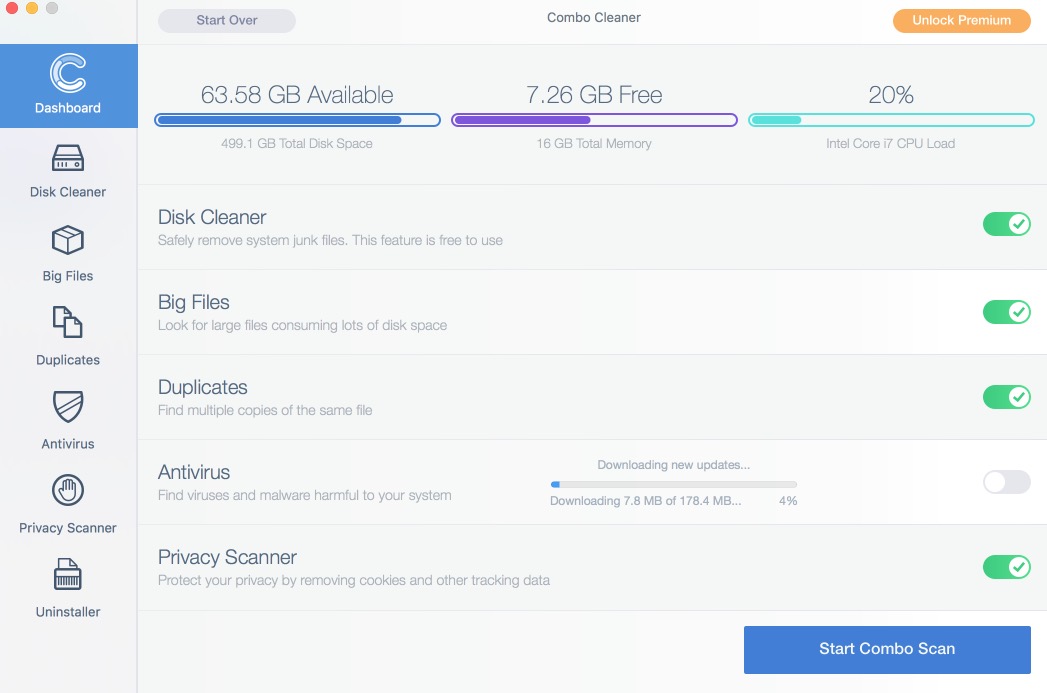
- Wait until Combo Cleaner downloads new updates (mandatory step):
- Once updates are downloaded and installed, click on “Start Combo Scan” button:
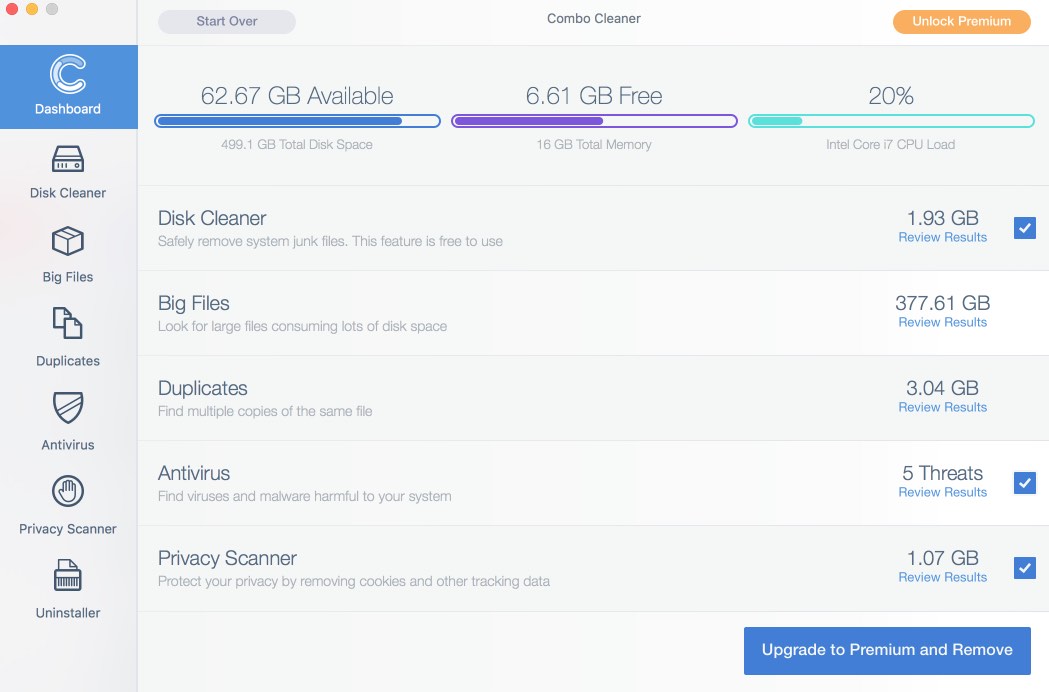
- To enable full functionality of Combo Cleaner and in order to delete detected malware, click on “Upgrade to Premium and Remove” button:

After you eliminate MyCouponize and related adware it is mandatory to apply additional manual fixes to clean your browsers from malware traces.
[TABS_R id=7864]