Ads by CloudScout in your browser is not just your problem. Millions of other users in the world wide web have seen this disgusting program showing CloudScout Ads in their screens. Some people think that it is enough just to uninstall this program in a regular way (just as you uninstall Microsoft Word or any other decent application). The program is that CloudScout can’t be referred to as “decent”. It often secretly penetrates into PCs using various illegal paths and doesn’t even come with the direct uninstaller.

In order to completely remove CloudScout Ads you definitely need a powerful antispyware application to scan your PC with it. However, even if you find such a tool, the adware may be concealed deep in your system, so that you would anyway need certain additional manual steps to be implemented for its removal.
CloudScout adware removal menu:
- Recommended software to remove adware automatically.
- Resetting browser settings after automatic removal of adware.
- Video explaining how to reset your browsers affected by adware.
- Tutorial to remove adware manually.
- How to prevent your PC from being reinfected.
CloudScout Ads may pop up in all major browsers today, including Google Chrome, Opera, Mozilla Firefox and Internet Explorer. No matter what websites you go to (either commercial or regular ones), these advertisements will be integrated into the contents of the sites you visit. They will be titled as “Ads by CloudScout”.
First of all, it is important to realize how exactly this adware is distributed in the world wide web these days. The truth is that there are many free programs in the web which are by default integrated with many other junk applications. It is important to always pay close attention to what exactly you’re going to make the part of your PC in addition to the main application of your choice. If you read about some additional software you don’t need, make sure you switch to the advanced or custom installation mode where you will be able to uncheck all these junk programs from being installed into your system.
At certain times users are in a hurry to install some free program they like, so they often blindly click on “Next” and “I agree” buttons, without actually understanding what exactly they agree with. So, this is exactly how they permit applications like CloudScout to be made the part of their PCs.
To remove CloudScout Ads effectively from your system we recommend you to scan the computer with a proven antispyware application called Plumbytes Anti-Malware. You will need to get rid of all the infections it finds (with its full registered version) and to reset your browsers with its help. Also, it is important to follow another extra step (please read the information below).
Note! After you follow the below-mentioned steps to remove CloudScout Ads automatically or manually, it is also important that you check certain registry entries in your PC. This particular infection could change the settings of your DNS server and redirect your browsers to various third-party domains. It is very important that you fix the following registry entries:
- HKEY_LOCAL_MACHINE\SYSTEM\CurrentControlSet\Services\Tcpip\Parameters “DhcpNameServer”
- HKEY_LOCAL_MACHINE\SYSTEM\CurrentControlSet\Services\Tcpip\Parameters\Interfaces\%Random CLSID% “DhcpNameServer”
- HKEY_LOCAL_MACHINE\SYSTEM\CurrentControlSet\Services\Tcpip\Parameters\Interfaces\%Random CLSID% “NameServer”
- HKEY_LOCAL_MACHINE\SYSTEM\CurrentControlSet\Services\Tcpip\Parameters\Interfaces\%Random CLSID% “DhcpNameServer”
You must look for strange IP Addresses in the “Data” sections. In case these third-party settings were added, make sure you change them to the IP Addresses for your own DNS Servers. This information may be obtained by contacting your system administrator.
Software to get rid of CloudScout automatically.

Important milestones to delete CloudScout automatically are as follows:
- Downloading and installing the program.
- Scanning of your PC with it.
- Removal of all infections detected by it (with full registered version).
- Resetting your browser with Plumbytes Anti-Malware.
- Restarting your computer.
Detailed instructions to remove CloudScout automatically.
- Download Plumbytes Anti-Malware through the download button above.
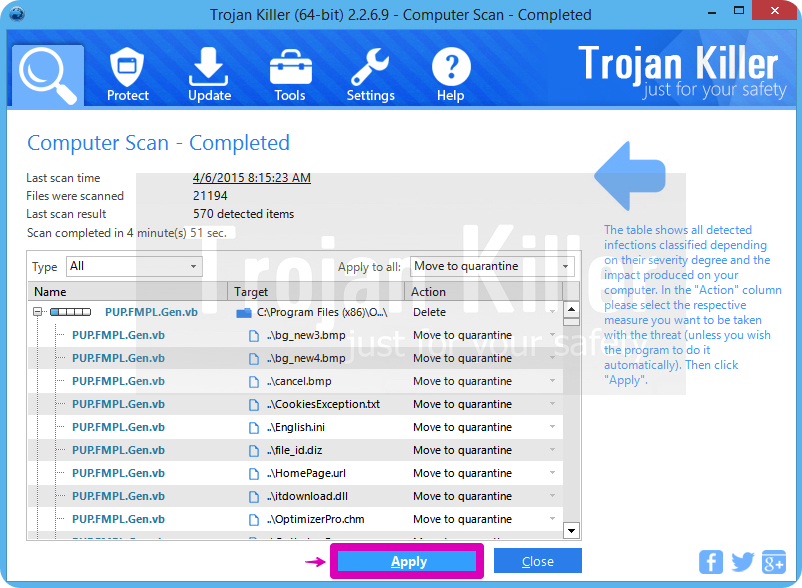
- Install the program and scan your computer with it.
- At the end of scan click “Apply” to remove all infections associated with CloudScout:
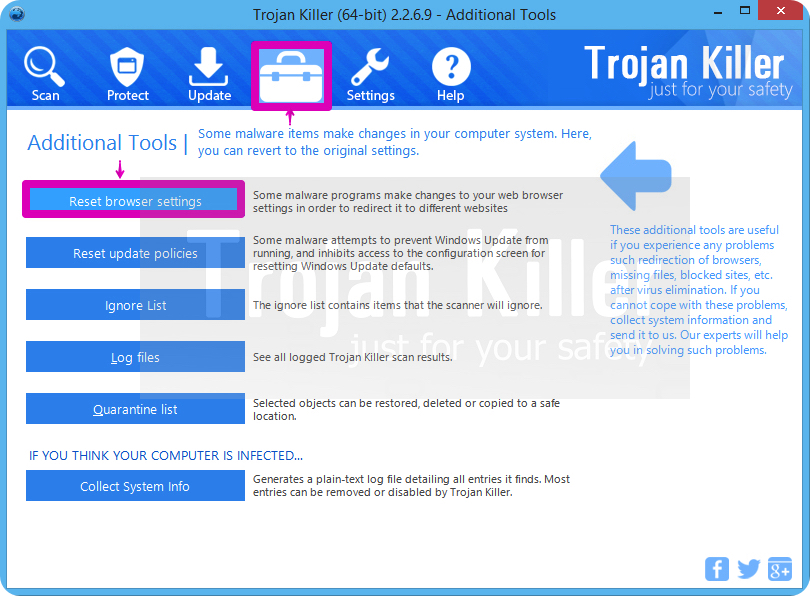
- Important! It is also necessary that you reset your browsers with Plumbytes Anti-Malware after this particular adware removal. Shut down all your available browsers now.
- In Plumbytes Anti-Malware click on “Tools” tab and select “Reset browser settings“:
- Select which particular browsers you want to be reset and choose the reset options.
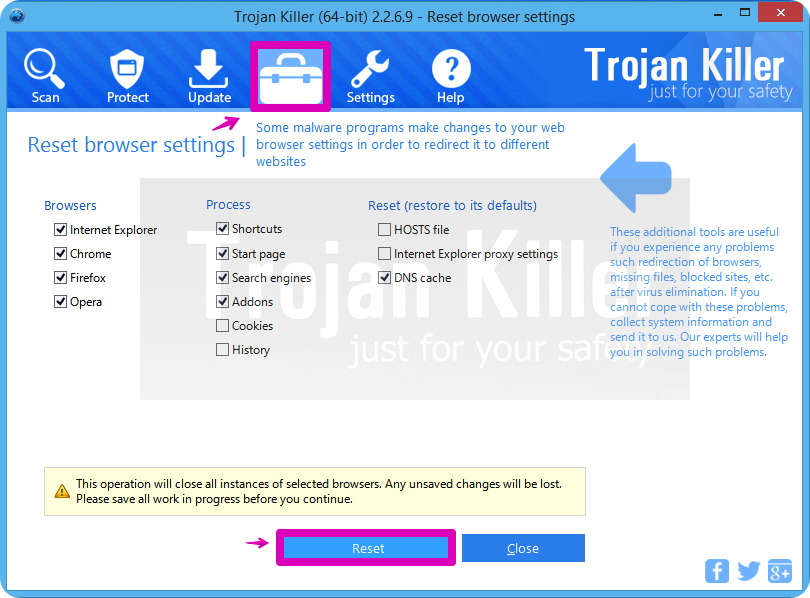
- Click on “Reset” button.
- You will receive the confirmation windows about browser settings reset successfully.
- Reboot your PC now.
Video guide explaining how to reset browsers altogether automatically with Plumbytes Anti-Malware:
Detailed removal instructions to uninstall CloudScout manually
Step 1. Uninstalling this adware from the Control Panel of your computer.
- Make sure that all your browsers infected with CloudScout adware are shut down (closed).
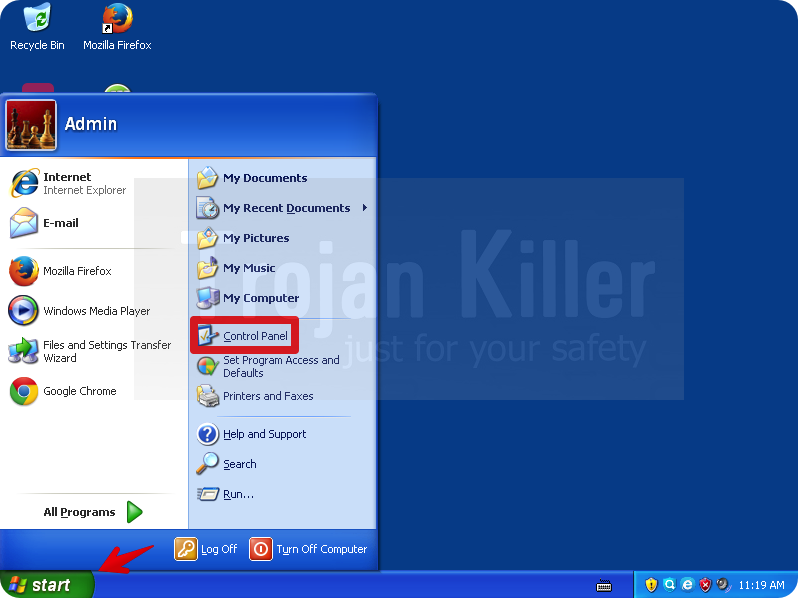
- Click on “Start” and go to the “Control Panel“:
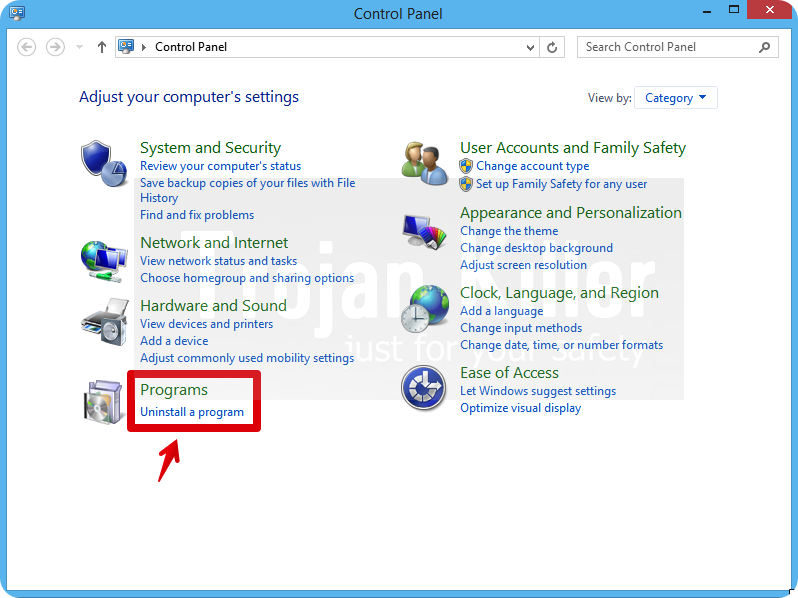
- To access the Control Panel in Windows 8 operating system move the computer mouse towards the left bottom hot corner of Windows 8 screen and right-click on it. In Windows 8.1, simply right-click on the “Start” button. Then click on “Control Panel“:
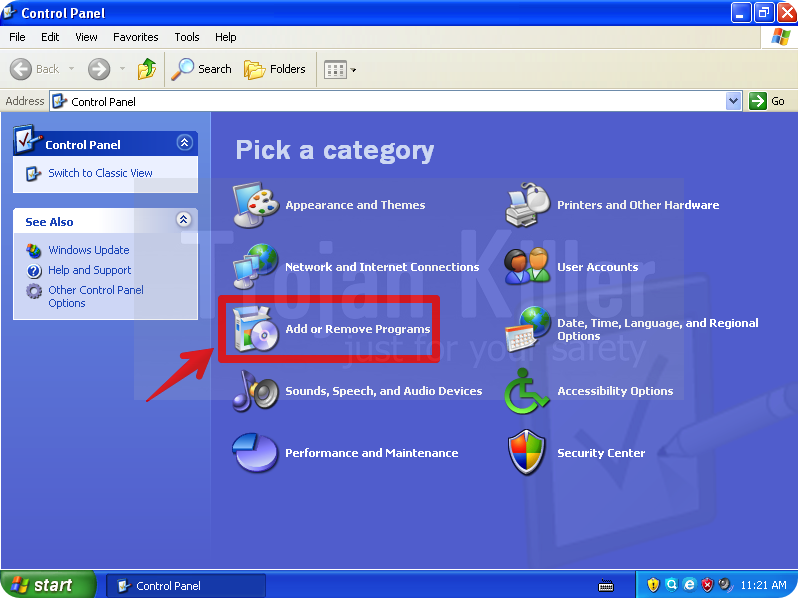
- In Windows XP click on “Add or remove programs“:
- In Windows Vista, 7, 8 and 8.1 click on “Uninstall a program“:
- Uninstall CloudScout adware. To do it, in Windows XP click “Remove” button related to it. In Windows Vista, 7, 8 and 8.1 right-click on this adware with the PC mouse and click on “Uninstall / Change“.

Step 2. Removing adware from the list of add-ons and extensions of your browser.
In addition to removal of adware from the Control Panel of your PC as explained above, you also need to remove this adware from the add-ons or extensions of your browser. Please follow this guide for managing browser add-ons and extensions for more detailed information. Remove any items related to this adware and other unwanted applications installed on your PC.
How to prevent your PC from being reinfected:
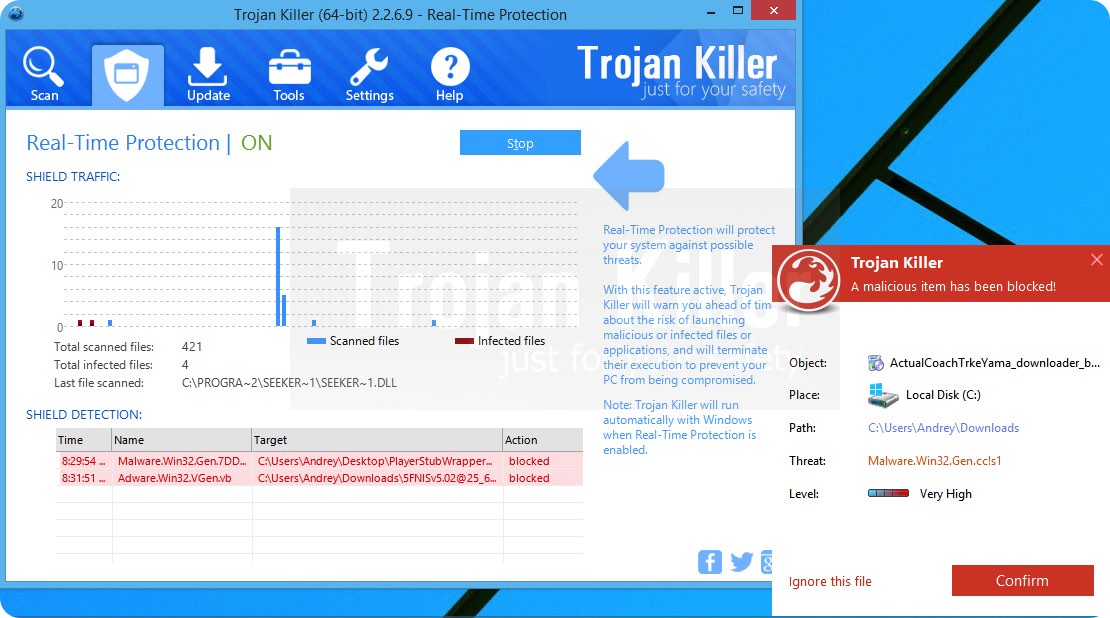
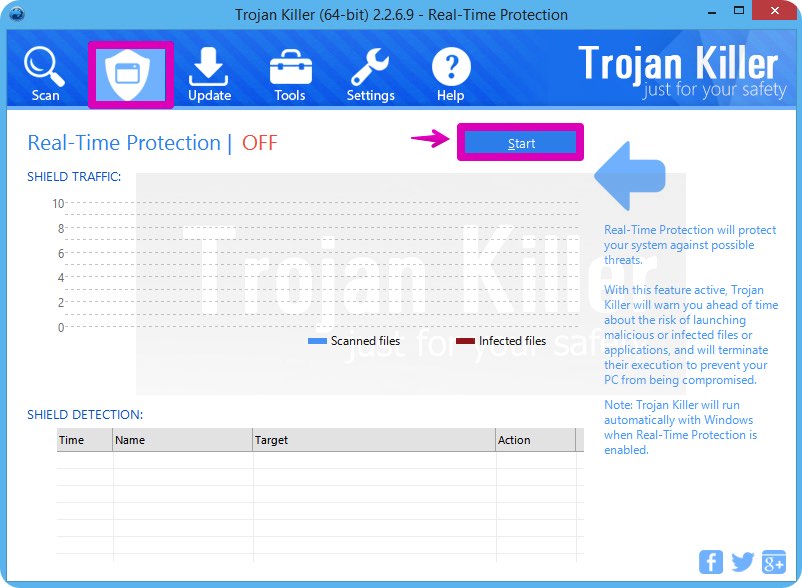
Plumbytes Anti-Malware offers a superb service to prevent malicious programs from being launched in your PC ahead of time. By default, this option is disabled once you install Anti-Malware. To enable the Real-Time Protection mode click on the “Protect” button and hit “Start” as explained below:
Once this option is enabled, your computer will be protected against all possible malware attacking your PC and attempting to execute (install) itself. You may click on the “Confirm” button to continue blocking this infected file from being executed, or you may ignore this warning and launch this file.