Mac Tweak Pro is a new potentially unwanted program that currently attacks many Mac computers. Mac Tweak Pro is actually a totally fake system optimization utility. It is absolutely not able to provide any decent services for your Mac. Instead, Mac Tweak Pro slows down the system performance and permanently disturbs you from doing things that are really important. We recommend you not to tolerate Mac Tweak Pro in your workstation but rather thoroughly follow this tutorial that explains how to get rid of this scam in an automatic manner.
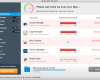
Mac Tweak Pro removal menu.
How to get rid of Mac Tweak Pro from Mac OSX systems?
Tips to fix your browser manually.
How does your Mac function with Mac Tweak Pro enabled?
Mac Tweak Pro is most commonly spread through fake Adobe Flash Player alerts. These are misleading pop-ups that suggest you to implement these suspicious updates of Adobe Flash Player or some other kind of player. The truth is that your Mac is already provided with all the necessary software. You do not need anything else for this purposes. But when users mistakenly listen to the deceitful instructions in fake Adobe Flash Player update alerts then may end up instead facing Mac Tweak Pro or some other useless programs in their workstations.
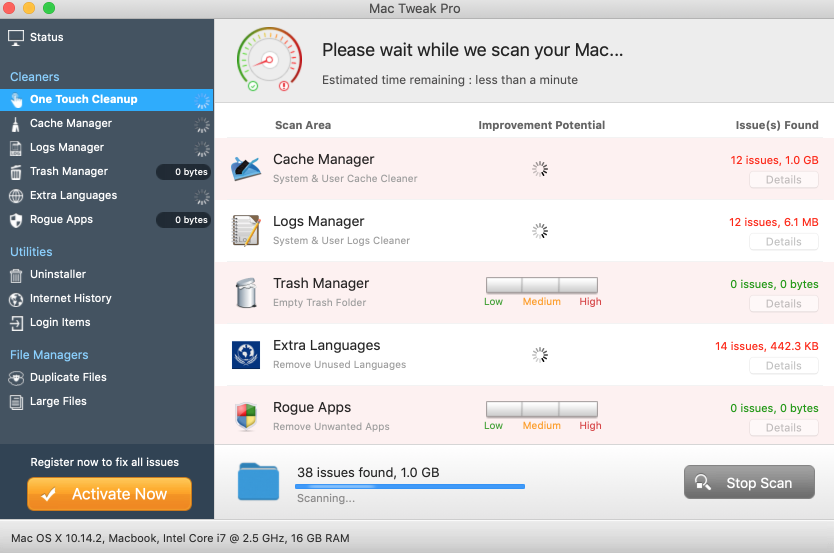
Mac Tweak Pro will perform unwanted system amendments in order to be self-started automatically with every system startup. You will then keep facing this shareware as soon as you actually launch your Mac. The program will try to create the impression in your mind as if it is doing some system checkup. It will quite soon give you some scary report about various computer troubles allegedly found in your Mac OS X. Of course, you must not trust such deceitful information. The hoax will then try to buy its full version, but the truth is that it is not different from the trial one at all. Buying Mac Tweak Pro application is actually the waste of your money.
In order to get rid of Mac Tweak Pro from your Mac OS X you first need to force quit this unwanted program. Use Command-Option-Esc hotkey for this purpose. Make Mac Tweak Pro highlighted (click on it). Then click on the button “Force Quit“, and confirm this command. Afterwards you may go to the “Applications” area of your Mac and delete Mac Tweak Pro from the list. Here is the video that demonstrates how to do that:
The steps above should help you get rid of Mac Tweak Pro. However, we also strongly advise that you scan your Mac OS X with proven virus removal software. You are welcome to perform scanning with proven virus removal software for Mac called Combo Cleaner Premium. Please follow the removal guide provided below for more information on how to do that.
Recommended application and important milestones to get rid of Mac Tweak Pro from Mac computers.
- Download Combo Cleaner for your Mac by clicking on the “Download Now” button below.
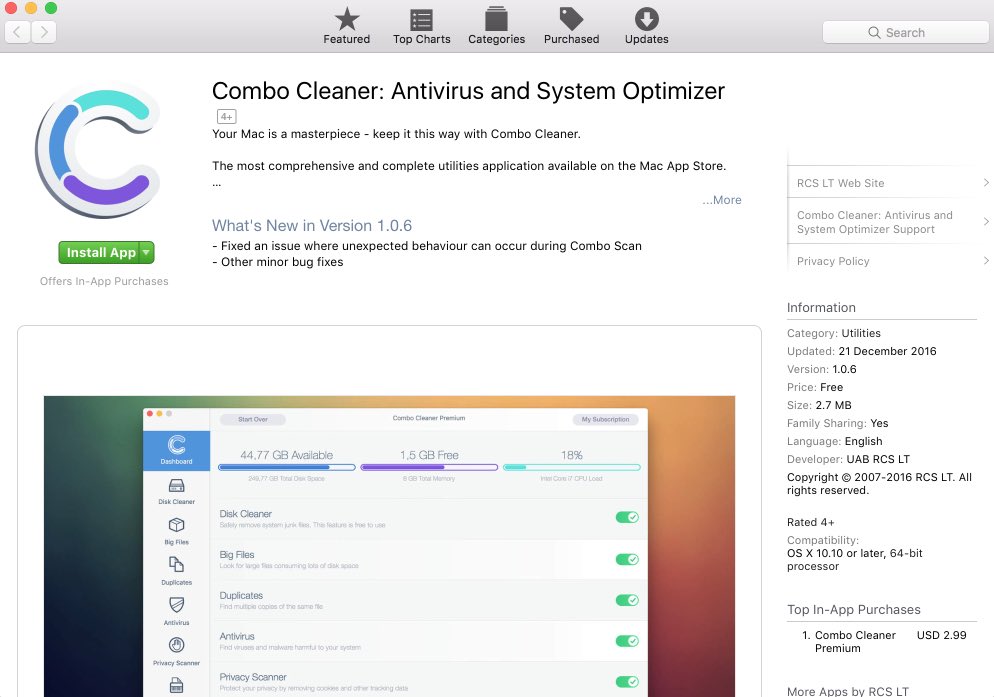
- You will be redirected to the App Store:
- Install the application and start it.
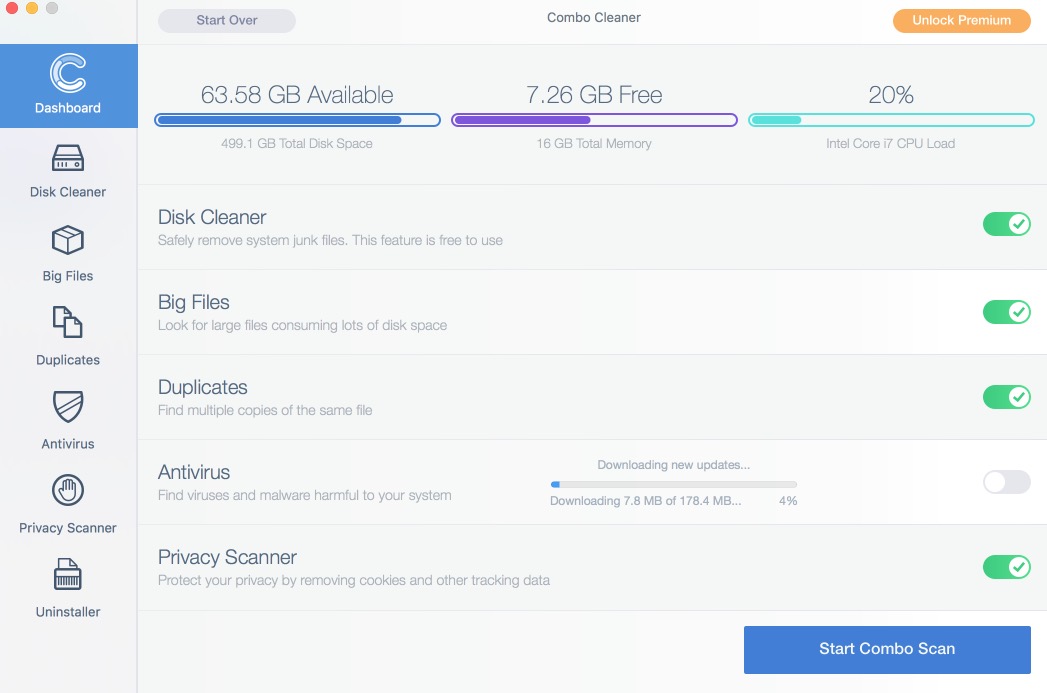
- Wait until Combo Cleaner downloads new updates (mandatory step):
- Once updates are downloaded and installed, click on “Start Combo Scan” button:
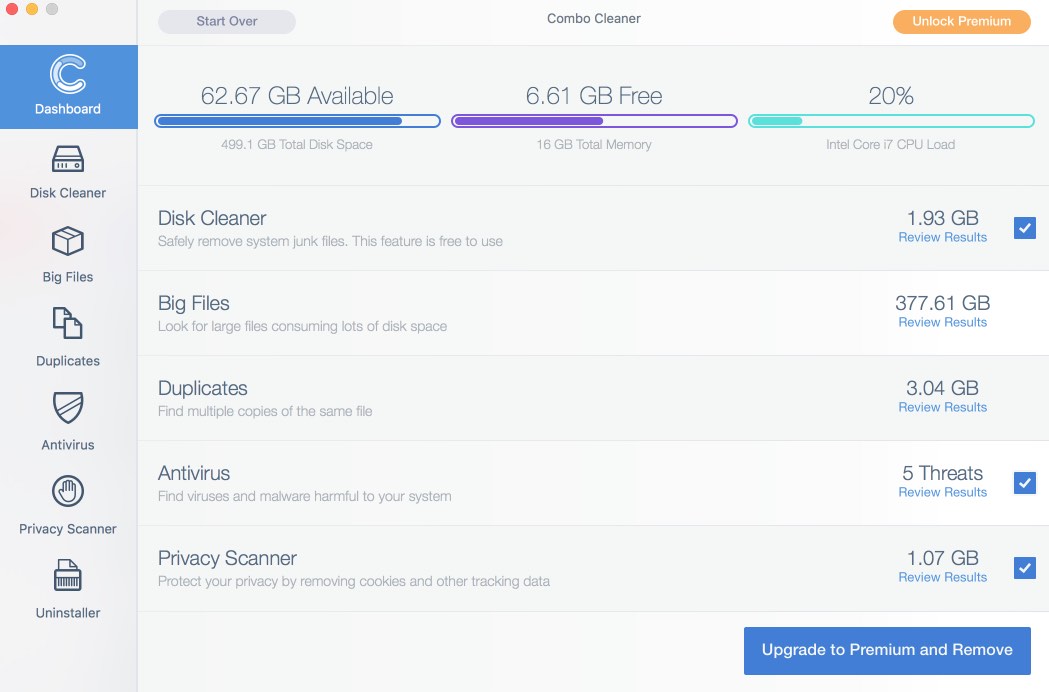
- To enable full functionality of Combo Cleaner and in order to delete detected malware, click on “Upgrade to Premium and Remove” button:


Detailed instructions to fix your browsers manually.
After you clean your computer from Mac Tweak Pro infection it might be additionally useful that you follow additional steps that will help you to reset your browser back to the fully functional mode. These additional steps are manual and include removing suspicious extensions or complete reset of these infected browsers.
How to fix Mozilla Firefox manually.
How to fix Internet Explorer manually.
How to fix Opera manually.
How to fix Safari manually.
STEP 1. Fixing Google Chrome browser.
- In Google Chrome, click on its “Settings” button in the form of three vertical dots, then choose “Settings“.
- Choose “Extensions” in the left section of the window. Uncheck suspicious extensions, then click on the Trash icon related to it.
- NOTE. Final optional steps. Use these steps only if the above-mentioned methods to remove malwar from Google Chrome did not help. When in Google Chrome settings mode, scroll down to the bottom of the page and click on “Show advanced settings“.
- Scroll down to the bottom of the page and click on “Reset settings” button.
- In the pop-up window, click on “Reset“.
Detailed video guide explaining how to fix your Google Chrome browser.
STEP 2. Fixing Mozilla Firefox.
- In Mozilla Firefox, click on the icon that looks in the form of three horizontal lines in the upper-right section of the browser window. Click on “Add-ons“.
- Click on the “Extensions” tab in the left part of the windows. Check suspicious extensions. If you identify them, click on “Disable“, then on “Remove“.
- NOTE. Final optional steps. Use these steps only if the above-mentioned methods to remove malware from Mozilla Firefox did not help. Click on the icon that looks in the form of three horizontal lines in the upper-right section of Mozilla Firefox and select the question-mark icon at the bottom of the drop-down menu.
- Click on “Troubleshooting information” in the slide-out menu.
- Select the “Refresh Firefox” button at the top right of the new web page.
- Finally, click on “Refresh Firefox” again to confirm the action.
Detailed video guide explaining how to fix Mozilla Firefox.
STEP 3. How to repair Internet Explorer browser.
- Click on Internet Explorer settings icon in the upper-right part of the browser in the form of a gear-wheel. Select “Manage add-ons“.
- Find suspicious toolbar or extension. Click on it (make it highlighted). Then click on “Disable” button related to this particular toolbar or extension.
- NOTE. Final optional steps. Use these steps only if the above-mentioned methods to remove malware from Internet Explorer did not help. Click on Internet Explorer settings icon in the upper-right part of the browser in the form of a gear-wheel. Select “Internet Options“.
- Select “Advanced” tab, then click on “Reset“.
- Select appropriate reset options, then click on “Reset“.
Detailed video guide explaining how to fix Internet Explorer.
STEP 4. How to fix Opera browser.
- Click on “Opera” menu in the upper-right part of the browser. Select “Extensions“, then click on “Manage extensions“.
- If you find anything suspicious, disable and delete it.
Detailed video guide explaining how to fix Opera.
Milestones to fix Safari in Mac OS X.
- Milestone 1. Click on “Safari” menu, then go to “Preferences“.
- Milestone 2. In the “General” tab set the home page back to google.com or other start page of your preference.
- Milestone 3. In the “Extensions” tab, locate suspicious extensions and click on “Uninstall“.
- Milestone 4. In Safari menu, select “Clear history” and click on “Clear History again“.
- Milestone 5. Get back to Safari menu, then click on “Preferences“.
- Milestone 6. Click on “Privacy” tab, then choose “Manage Website Data…“.
- Milestone 7. Click on “Remove All“, then on “Done“.