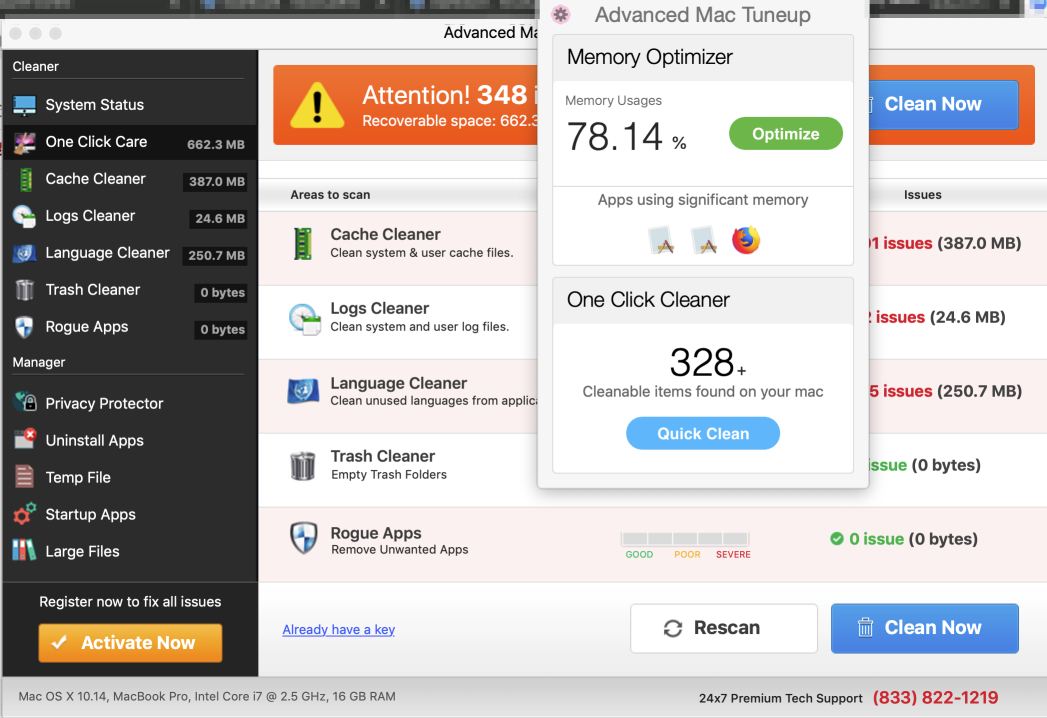
Advanced Mac Tuneup is yet another potentially unwanted program that currently attacks Mac computers, including Mac OS X Mojave. This is not a virus in the complete meaning of this word, however, some people prefer to speak of Advanced Mac Tuneup as a virus. It is more correct to classify it as the potentially unwanted program which surely does not represent any value for your Mac. Instead of improving its performance it just permanently slows it down by causing high CPU usage on a regular basis. We recommend that you do not trust this scary program; instead, make sure to follow this guide that explains how to fix your system automatically with the assistance of reliable anti-virus program.
Advanced Mac Tuneup scam removal menu.
How to get rid of Advanced Mac Tuneup from Mac OSX systems?
Tips to fix your browser manually.
How does your Mac function with Advanced Mac Tuneup enabled?
Advanced Mac Tuneup is currently spread through various fake alerts in browsers messed up by adware. These pop-ups could mention some absolutely fake reports about different viruses allegedly found in the system and about the necessity to perform some scanning with certain ‘recommended app’. When users decide to do that Advanced Mac Tuneup hoax will be installed into their Macs.
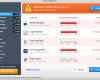
Upon successful infiltration, Advanced Mac Tuneup will begin imitating its attempts to fix your computer. The hoax will perform unwanted amendments into the way your computer operates. For example, it will set up the system parameters in order to be self-started automatically with every system startup. So, as soon as you turn your Mac on Advanced Mac Tuneup hoax will come up as well. Plus, it will keep bombarding your screen with quite intrusive pop-ups and alerts claiming that your system is infected with various viruses, or that some stability issues were allegedly found by Advanced Mac Tuneup. Obviously, this information is far away from being true.
Advanced Mac Tuneup is absolutely not able to fix your Mac or improve its performance. Neither is it able to protect your Mac from virus intrusion attempts. In other words, Advanced Mac Tuneup cannot be classified as some anti-virus. Instead, it does more harm for your system than it actually helps.
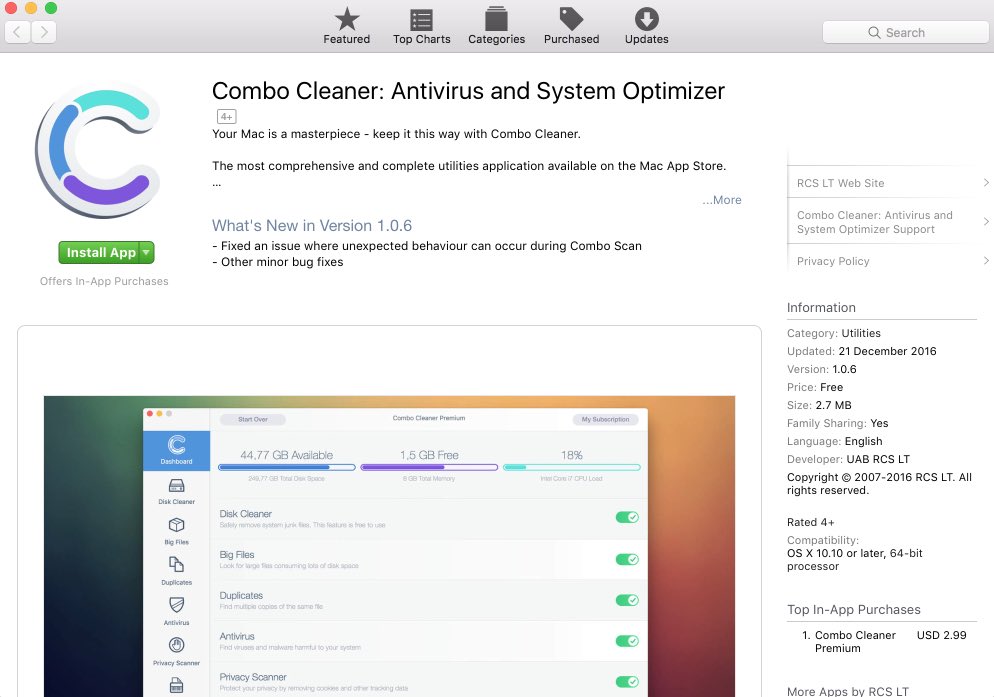
We have published a special video guide on YouTube that explains how to fix your system and remove Advanced Mac Tuneup shareware from your Mac OS X Mojave and other versions. The video guide first explains how to remove Advanced Mac Tuneup manually. We also recommend that you thoroughly scan your Mac with proven anti-virus software called Combo Cleaner Premium which works exceptionally well in terms of protecting your Mac from all possible virus intrusion attempts.
Recommended application and important milestones to get rid of Advanced Mac Tuneup scam.
- Download Combo Cleaner for your Mac by clicking on the “Download Now” button below.
- You will be redirected to the App Store:
- Install the application and start it.
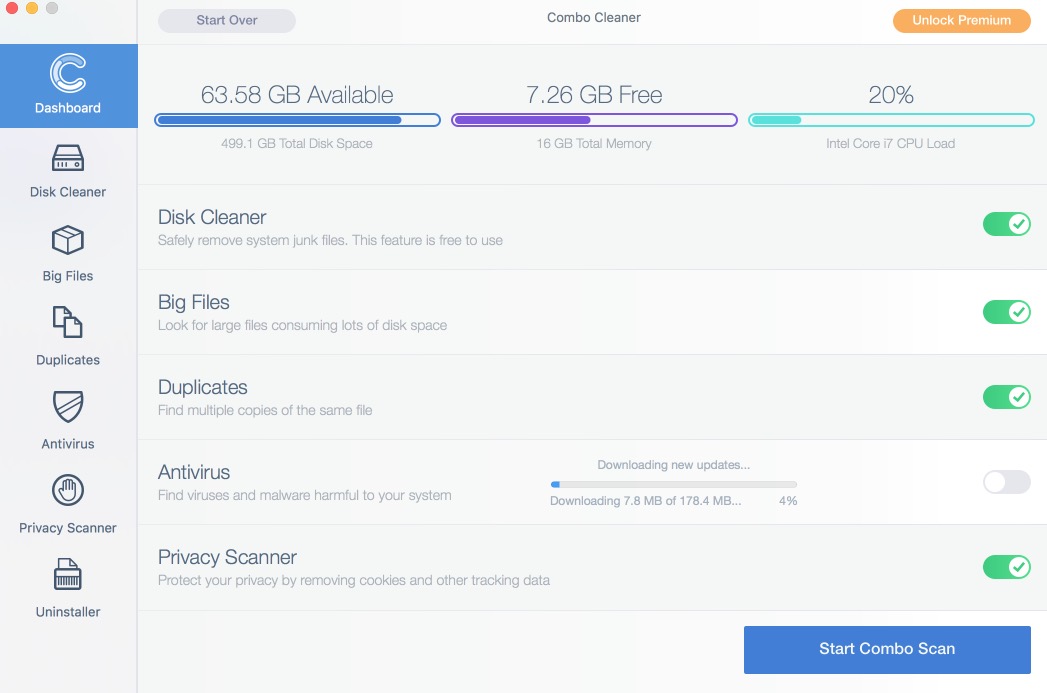
- Wait until Combo Cleaner downloads new updates (mandatory step):
- Once updates are downloaded and installed, click on “Start Combo Scan” button:
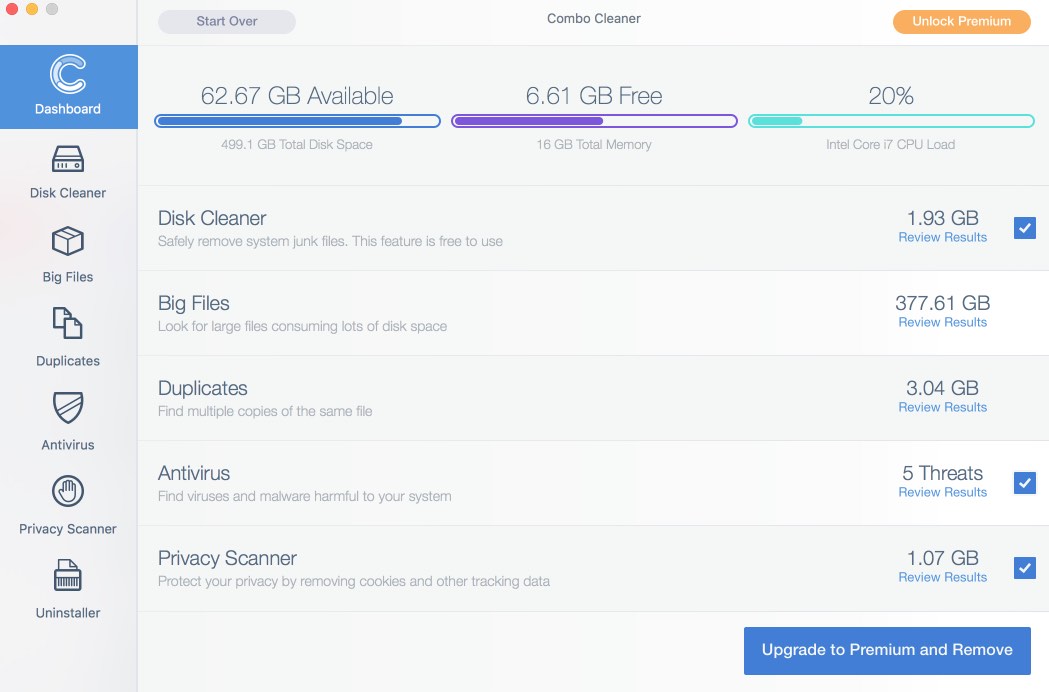
- To enable full functionality of Combo Cleaner and in order to delete detected malware, click on “Upgrade to Premium and Remove” button:


Detailed instructions to fix your browsers manually.
After you clean your computer from Advanced Mac Tuneup it might be additionally useful that you follow additional steps that will help you to reset your browser back to the fully functional mode. These additional steps are manual and include removing suspicious extensions or complete reset of these infected browsers.
How to fix Mozilla Firefox manually.
How to fix Opera manually.
How to fix Safari manually.
STEP 1. Fixing Google Chrome browser.
- In Google Chrome, click on its “Settings” button in the form of three vertical dots, then choose “Settings“.
- Choose “Extensions” in the left section of the window. Uncheck suspicious extensions, then click on the Trash icon related to it.
- NOTE. Final optional steps. Use these steps only if the above-mentioned methods to remove POPUP pop-ups from Google Chrome did not help. When in Google Chrome settings mode, scroll down to the bottom of the page and click on “Show advanced settings“.
- Scroll down to the bottom of the page and click on “Reset settings” button.
- In the pop-up window, click on “Reset“.
Detailed video guide explaining how to fix your Google Chrome browser.
STEP 2. Fixing Mozilla Firefox.
- In Mozilla Firefox, click on the icon that looks in the form of three horizontal lines in the upper-right section of the browser window. Click on “Add-ons“.
- Click on the “Extensions” tab in the left part of the windows. Check suspicious extensions. If you identify them, click on “Disable“, then on “Remove“.
- NOTE. Final optional steps. Use these steps only if the above-mentioned methods to remove POPUP pop-ups from Mozilla Firefox did not help. Click on the icon that looks in the form of three horizontal lines in the upper-right section of Mozilla Firefox and select the question-mark icon at the bottom of the drop-down menu.
- Click on “Troubleshooting information” in the slide-out menu.
- Select the “Refresh Firefox” button at the top right of the new web page.
- Finally, click on “Refresh Firefox” again to confirm the action.
Detailed video guide explaining how to fix Mozilla Firefox.
STEP 4. How to fix Opera browser.
- Click on “Opera” menu in the upper-right part of the browser. Select “Extensions“, then click on “Manage extensions“.
- If you find anything suspicious, disable and delete it.
Detailed video guide explaining how to fix Opera.
Milestones to fix Safari in Mac OS X.
- Milestone 1. Click on “Safari” menu, then go to “Preferences“.
- Milestone 2. In the “General” tab set the home page back to google.com or other start page of your preference.
- Milestone 3. In the “Extensions” tab, locate suspicious extensions and click on “Uninstall“.
- Milestone 4. In Safari menu, select “Clear history” and click on “Clear History again“.
- Milestone 5. Get back to Safari menu, then click on “Preferences“.
- Milestone 6. Click on “Privacy” tab, then choose “Manage Website Data…“.
- Milestone 7. Click on “Remove All“, then on “Done“.